Table of Contents
DirectAdmin is a web hosting control panel that can be installed on a variety of hosting environments. It supports several types of hosting platforms and server configurations.
To create an email account in DirectAdmin, follow these steps:
1. Log in to DirectAdmin

- Open your web browser and go to your DirectAdmin login page (usually something like
https://yourdomain.com:2222). - Enter your username and password to log in.
2. Navigate to the Email Management Section
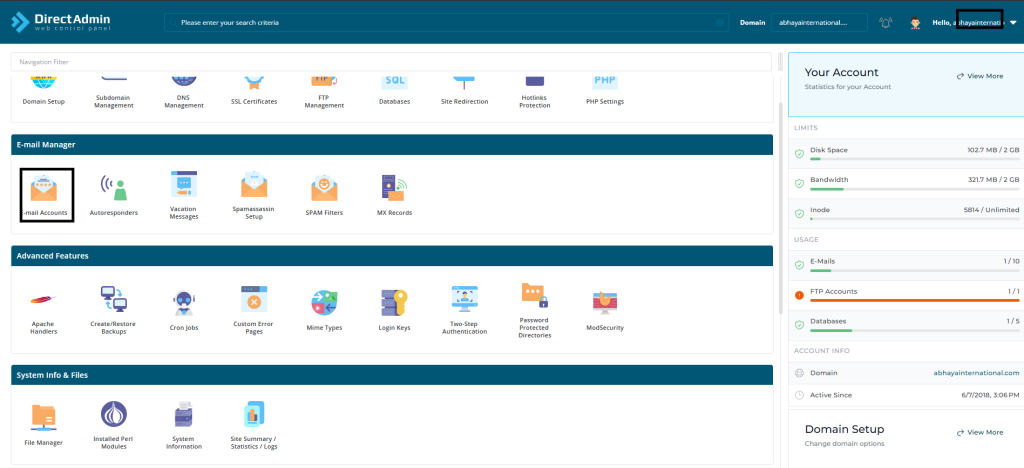
- Once logged in, find the Email Manager section. This section is usually located in the main dashboard under the “Email Manager” icon.
3. Create New Email Account
- Click on Email Accounts.
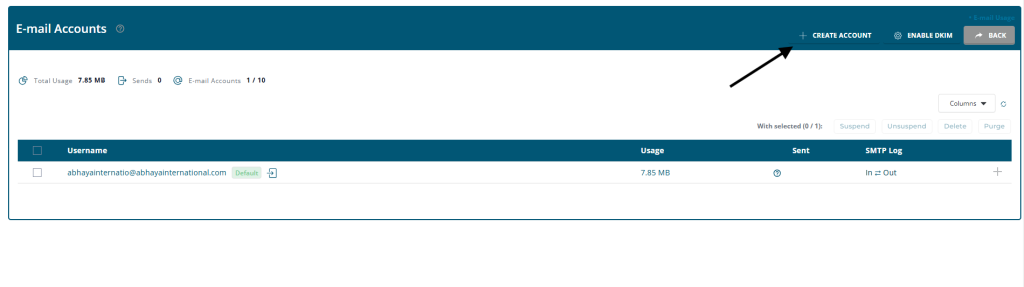
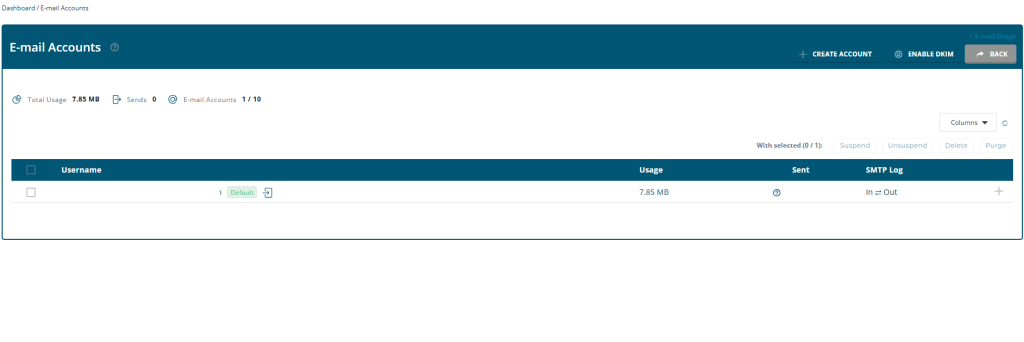
- In the email account management page, you will see an option to “Create mail account”.
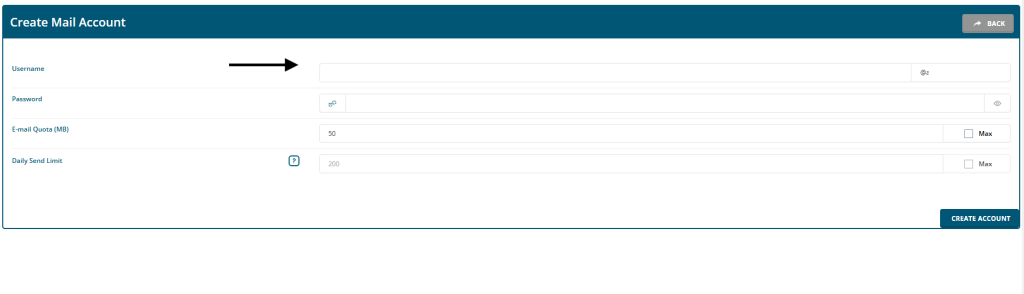
4. Fill Out the Email Account Information
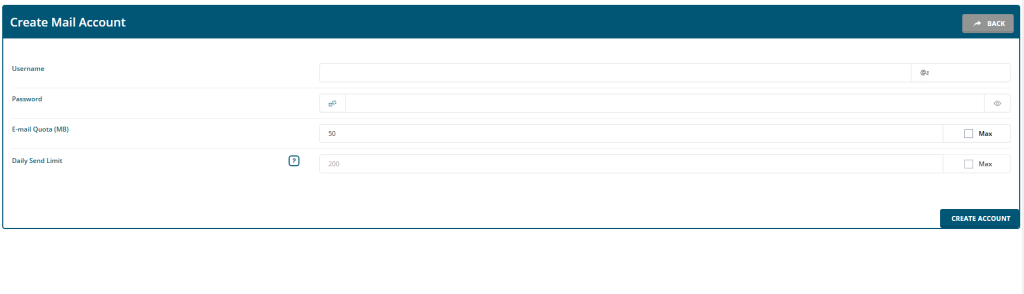
- Username: Enter the desired email address (e.g.,
info@yourdomain.com).

- Password: Choose a strong password for the email account. Enter it in the password field.
- Mailbox Quota: Set the storage limit (e.g., 1GB, 5GB, etc.). This determines how much space the email account can use.
- Advanced Settings: You may also see advanced options like enabling/disabling email forwarding, autoresponders, and more.
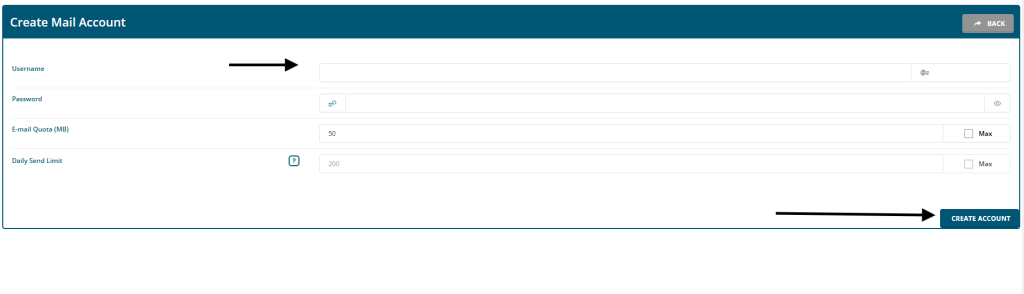
5. Create the Account
- Once you’ve entered all the necessary information, click on Create or Create Account.
6. Access and Manage the Email Account
- After the email account is created, you can go back to the Email Accounts section to view or manage the account.
- You can also access the email account through Webmail by going to
https://yourdomain.com:2222and logging into Webmail using the credentials you created.
Optional Settings:
- Email Forwarding: You can set up forwarding rules to forward emails from this account to another.
- Autoresponder: Set an automatic response for when you are unavailable.
- Spam Filters: Set up anti-spam filters to help block unwanted emails.
That’s it! You’ve successfully created an email account in DirectAdmin. You can now use it for sending and receiving emails.